Varies by feature
Camera and capture
Understand the interface, choose lenses and use capture modes without assuming universal support.
Prerequisites
- Camera permission
- Photos permission to save
- Physical device for advanced features
Get to know the camera
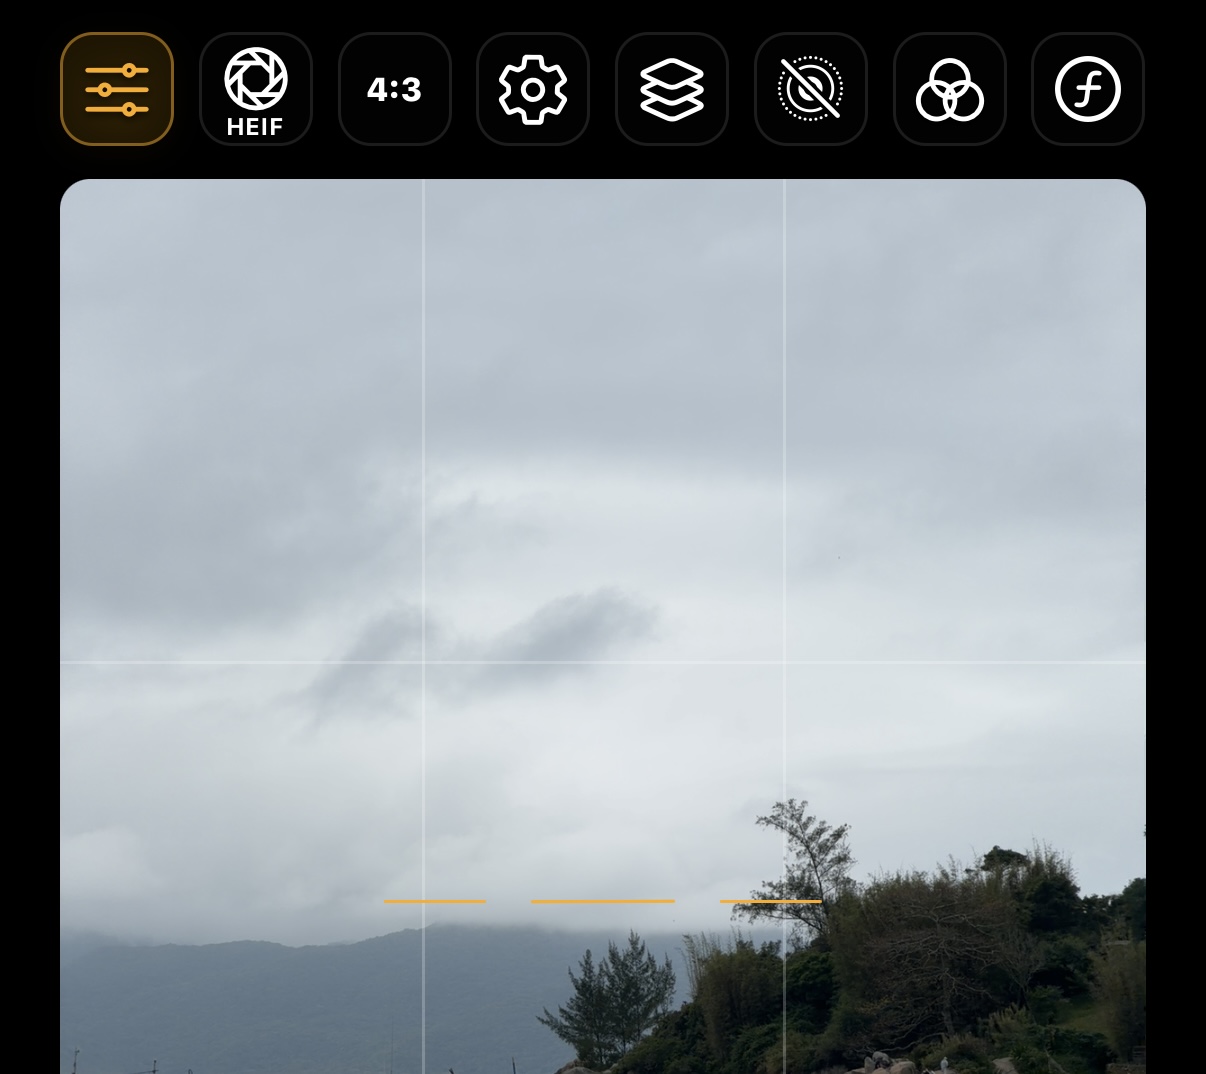
The preview fills the main area. The TopBar contains configurable shortcuts; the lower controls include the shutter, gallery, camera switch, lenses and contextual adjustments. Level and histogram can be enabled in settings.
- A visual highlight indicates active controls.
- Tap the preview to choose a focus point on compatible devices.
- The thumbnail in the bottom corner opens the active project or album.
Take a photo
Frame the scene and tap the shutter. The app processes the capture in the background, applies the selected effects and saves the result in the Komorebi album or active project.
- Animation in the thumbnail indicates that photos remain in the processing queue.
- Avoid closing the app while the queue is active.
Use lenses, zoom and focus
- The lens selector appears only when the device reports more than one physical camera.
- Pinch or use the dedicated control to adjust zoom within the lens limits.
- Tap a point in the preview to set focus on compatible cameras.
Use the front camera, flash and aspect ratio
- Use the switch button to take photos with the front camera.
- Available flash and lenses change with the active camera.
- The aspect ratio selector offers 4:3, 16:9 and 1:1, respecting device orientation. The square crop uses the 4:3 pipeline.
Enable grid, level and histogram
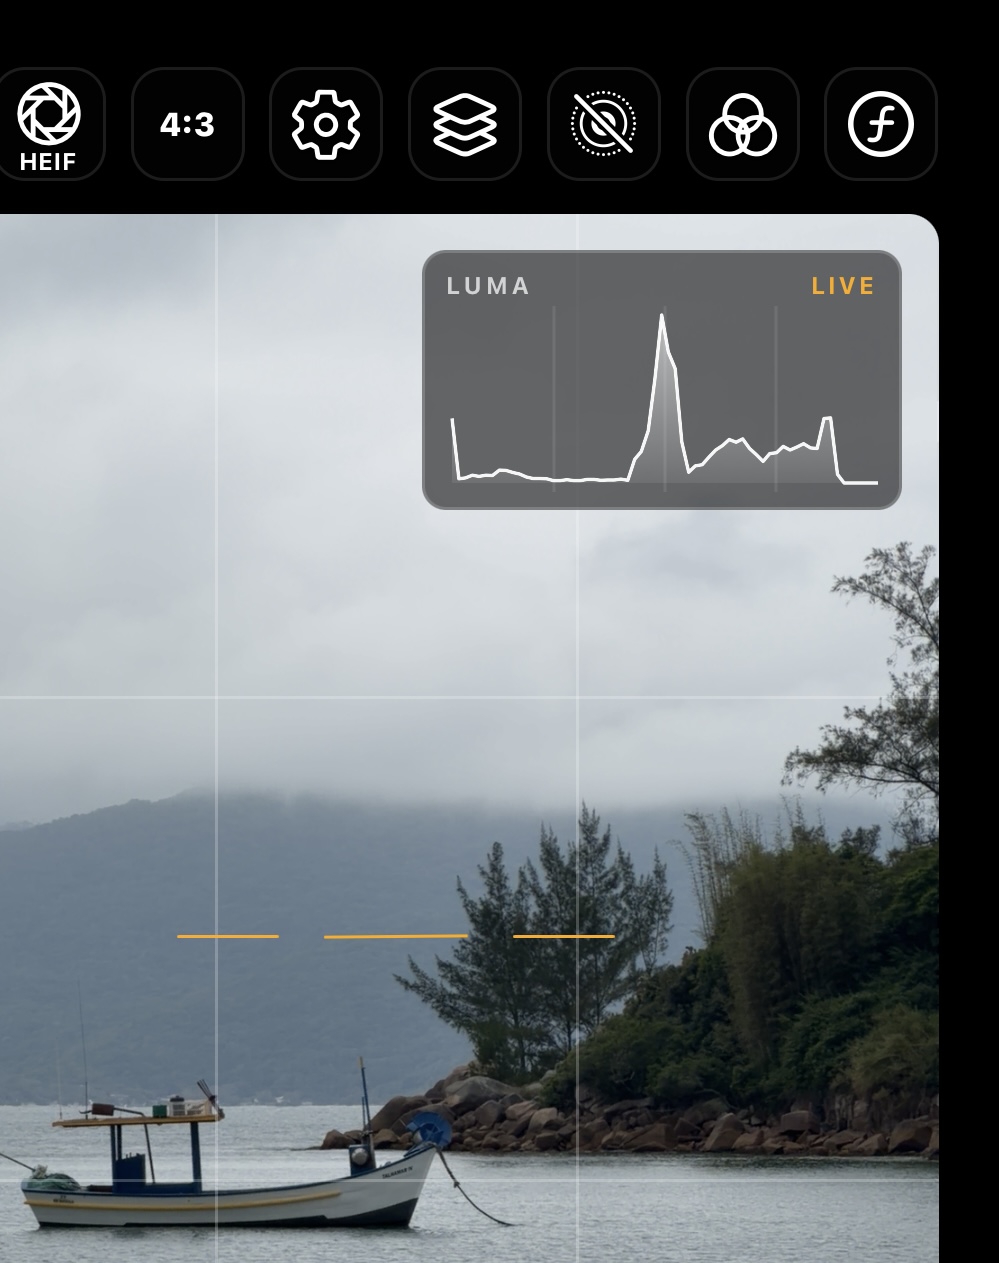
Grid, device level and live histogram are optional visual aids. Enable each in Settings → Camera; they are not recorded in the photo.
Adjust exposure and manual controls
Exposure compensation depends on the pipeline and active camera. The full ISO, shutter speed, white balance and focus panel uses an iOS-only module, based on detected capabilities. Return to automatic mode using the corresponding control whenever you want the camera to recalculate the setting.
- The preview may differ from the processed and saved image.
- Reliable validation requires a physical device.
- The documentation does not claim that public settings disable proprietary system algorithms.
Choose megapixelsNew
In Settings → Capture and files → Megapixels, choose 12, 24 or 48 MP separately for RAW and HEIF/JPEG. Defaults are 48 MP for RAW and 24 MP for HEIF/JPEG. The lens and mode may deliver a lower resolution; smaller photos are never upscaled.
- In a RAW + processed photo pair, both preferences are respected. Live Photo and Portrait follow native limits; Image Stacking keeps the strategy’s resolution. Aspect-ratio cropping may reduce the final pixel count.
Capture in Bayer RAW or ProRAW
- On the iOS rear camera, choose ProRAW or Bayer RAW in File format; only modes reported by the lens appear. ProRAW availability does not guarantee Bayer support.
- Bayer RAW requires a physical lens without digital zoom or cropping. The mode turns off if this requirement is no longer met; ProRAW follows camera capabilities.
- RAW and ProRAW cannot be combined with Live Photo or Portrait.
- The DNG preserves the sensor area; the processed photo in a pair follows the selected aspect ratio. In Megapixels, choose a preferred RAW resolution of 12, 24 or 48 MP; the lens and mode may deliver fewer pixels.
Capture a Live Photo
- Only available on iOS and compatible hardware.
- The mode requires RAW and Image Stacking to be off. It can work with Portrait if the lens reports support for the combination.
- The photo and motion clip are saved as a pair in the library.
Take a portrait
- Only available on iOS when the camera provides depth or portrait matte.
- The preview does not simulate blur; it allows exposure adjustment and tap to focus. The final photo uses depth/matte and an initial aperture of f/4.5.
- Changing lenses can immediately change mode availability and turn off Live Photo if combined support is missing.
- RAW and Image Stacking must be off. Live Photo can remain active alongside Portrait when the lens supports both together.
Choose HEIF, HEIF+ or JPEGNew
On iPhone, new photos are saved as HEIF by default. In the TopBar File format control, choose HEIF, HEIF+ or JPEG under Processed photo. JPEG offers wider compatibility; HEIF+ develops a DNG on the device before exporting the photo.
- The preference also applies to Live Photos, portraits and copies without effects when the capture flow allows it.
- RAW and ProRAW retain their own formats; the derived image may follow the chosen preference.
Timer, gestures and shortcutsNew
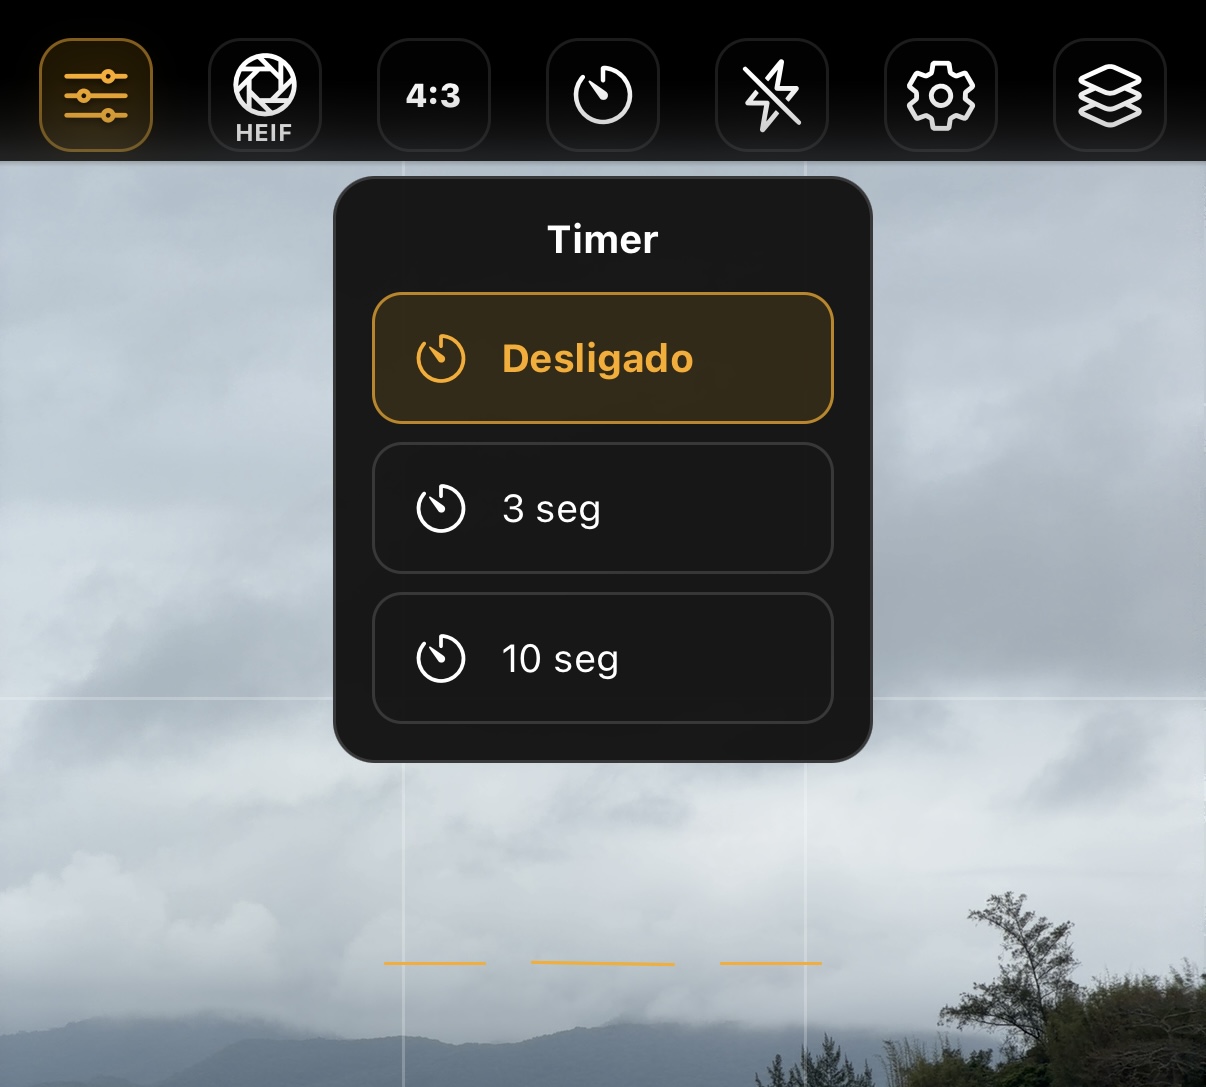
Choose off, 3 or 10 seconds in the TopBar Timer control. The general timer is not saved: it starts off and resets to zero when the app enters the background.
In Settings → Controls and gestures, configure vertical and horizontal gestures and both volume buttons for capture, effects, lenses or modes. Up opens or enables; down closes or disables. Right moves forward and left moves back in the selector.
- Take photo uses the general timer; Photo with 3s/10s timer overrides the time only for that shot and keeps its shortcut saved.
- On iOS, volume down, Camera Control and the Action button share the primary action when triggering capture; volume up uses the secondary action.
- Mode, effect and lens changes are blocked during capture, processing and countdown. Finishing Light Trails or Motion Blur remains immediate.
Shoot with physical buttons
- Volume buttons can trigger the shutter.
- Camera Control works only on iPhones with the corresponding physical control.
- The same interface locks apply while a photo is being processed.