
Varies by feature
Manual controls
Learn to balance light, movement, noise, focus and color before taking a photo.
Prerequisites
- iOS and a camera reporting available manual controls
- Physical device; capabilities change when switching lenses
Use the adjustment panel
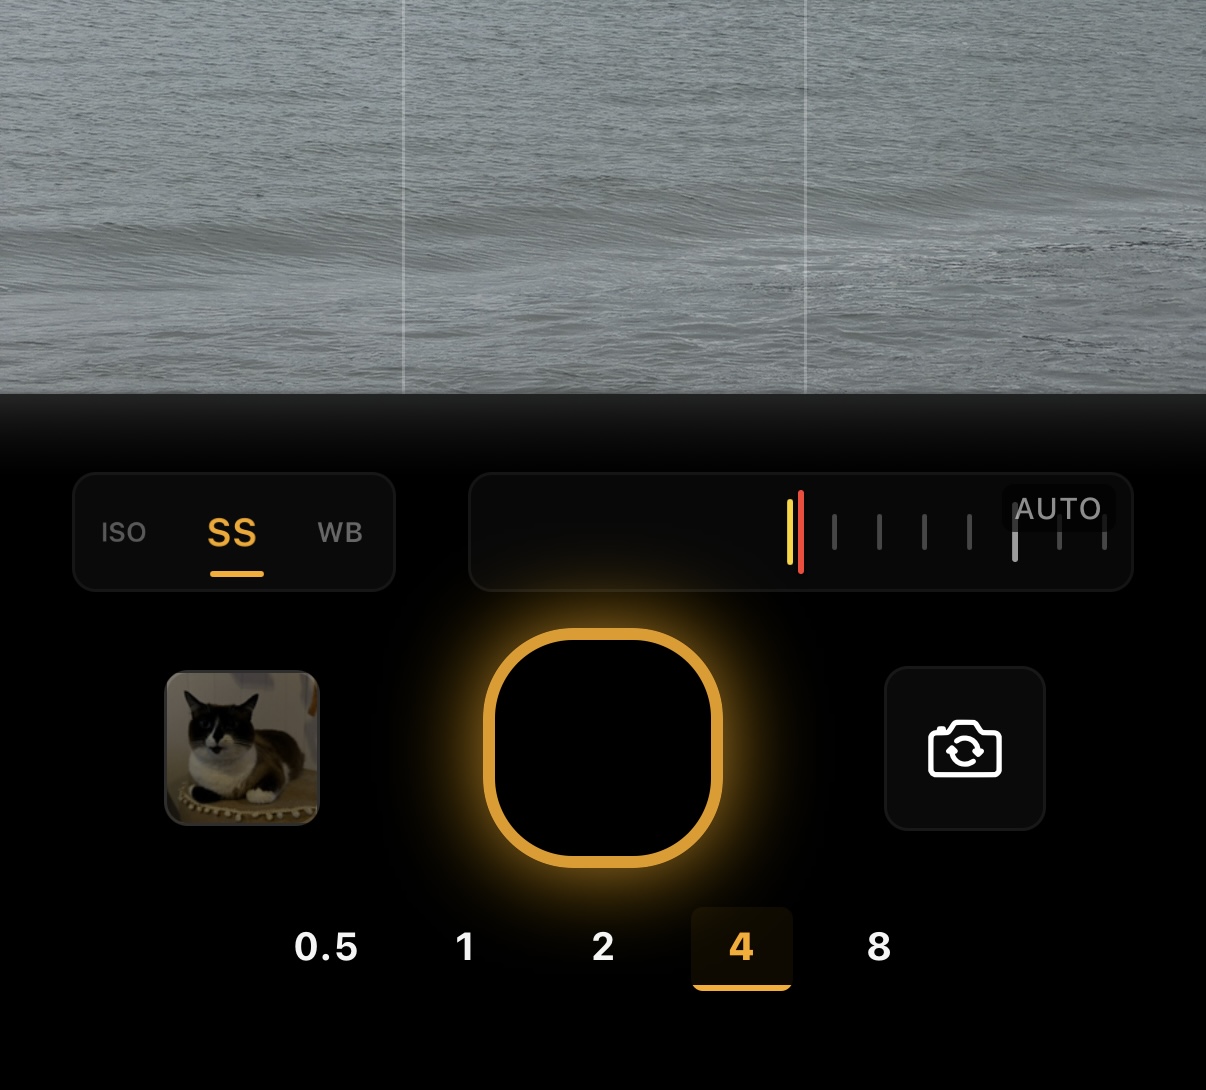
Enable Manual controls in the TopBar. The lower panel replaces the exposure scale in the same space and offers EV, ISO, SS (shutter speed), WB (white balance) and AF (focus). Select a setting on the left and drag the scale on the right to change its value.
AUTO indicates that a control is automatic. A brief tap on the scale returns ISO, SS, WB or AF to automatic; for EV, tapping returns to 0.0 EV. Leaving manual mode restores automatic settings; reopening the panel starts at EV.
ISO, shutter speed and compensation
ISO amplifies the signal: higher values help in low light but may increase noise. A slower shutter gathers light for longer and increases the risk of camera shake and motion blur. A fast shutter helps freeze the subject, requiring more light or higher ISO.
EV compensation guides automatic exposure. It is not the same as changing the lens's physical aperture. When ISO and time are fixed, check the actual effect in the preview and file.
- Start in automatic mode and change one variable at a time.
- For moving subjects, prioritize shutter speed; for a still scene with support, try a longer exposure.
- If important highlights clip, reduce exposure; recovering detail later is not guaranteed.
Focus and white balance
Tap the subject to set the focus point when supported. Manual focus controls lens position; its value is not a distance in meters.
White balance changes the appearance of temperature and tint. Keeping it stable helps compare photos of the same scene. Availability and limits come from the active camera.
Focus peaking in the previewNew
On iOS, enable Settings → Camera → Focus peaking to highlight high-contrast edges and help adjust focus. The highlight follows the preview and is not saved in the photo. Check the saved result: contrast and lighting can affect the indication.
Histogram, zebras and focus
The histogram shows luminance distribution; concentrations at the extremes call for attention to shadows and highlights. Zebra marks extreme regions in the preview. These aids are not recorded in the image.
Preview, effects and system processing may cause differences in the saved result. Check the final image, especially in RAW/HEIF+.